
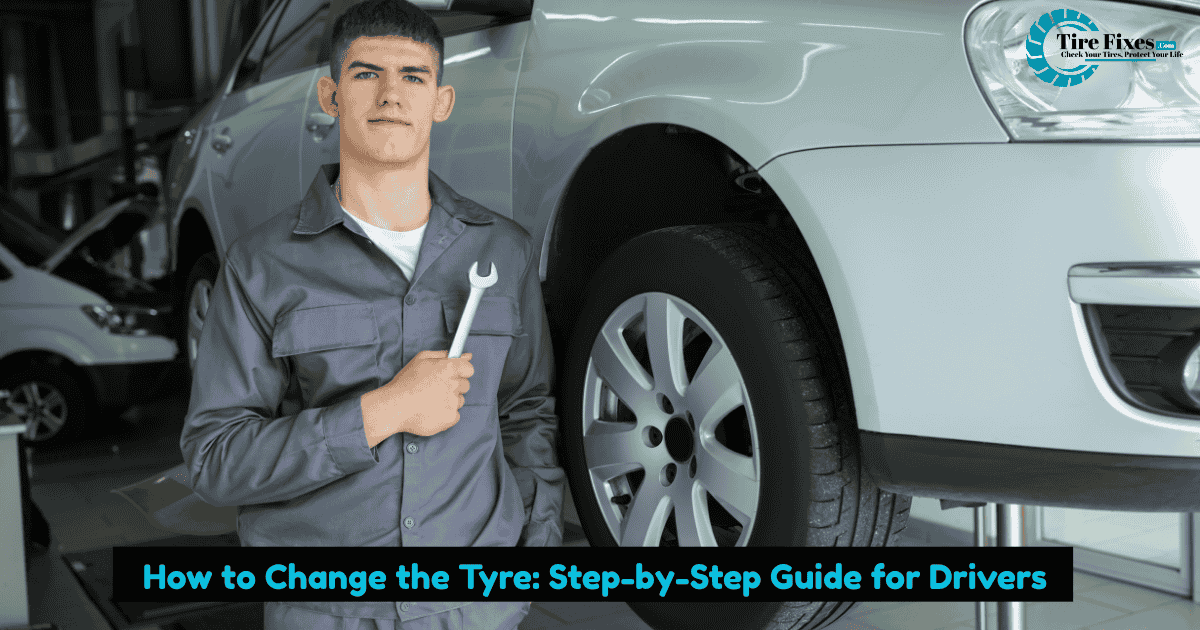
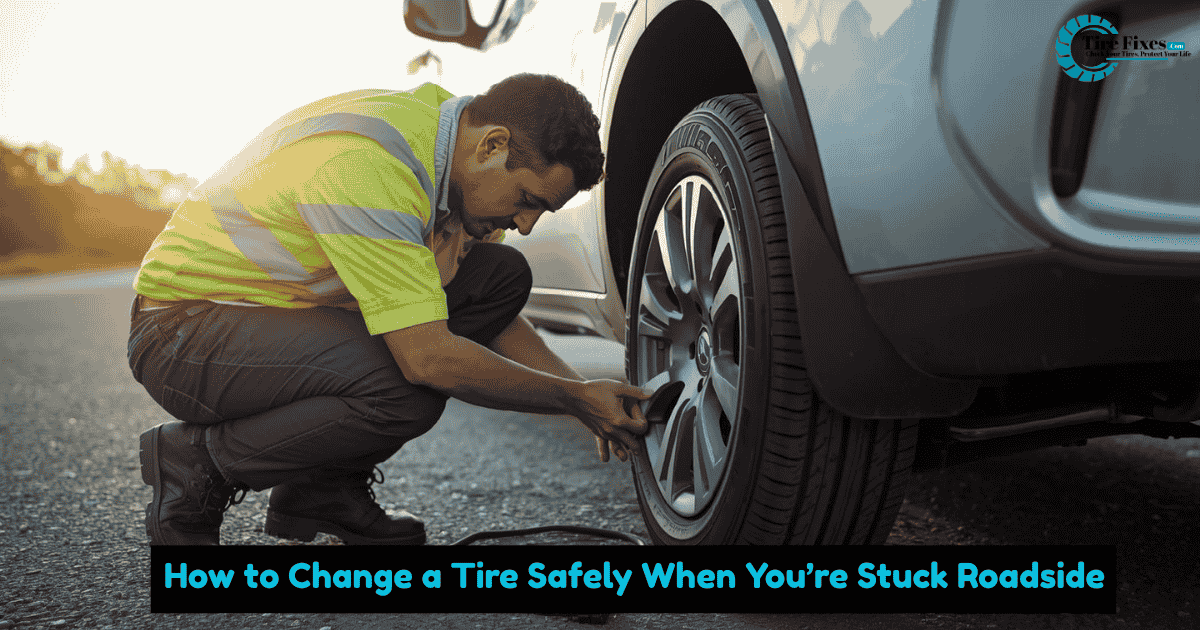
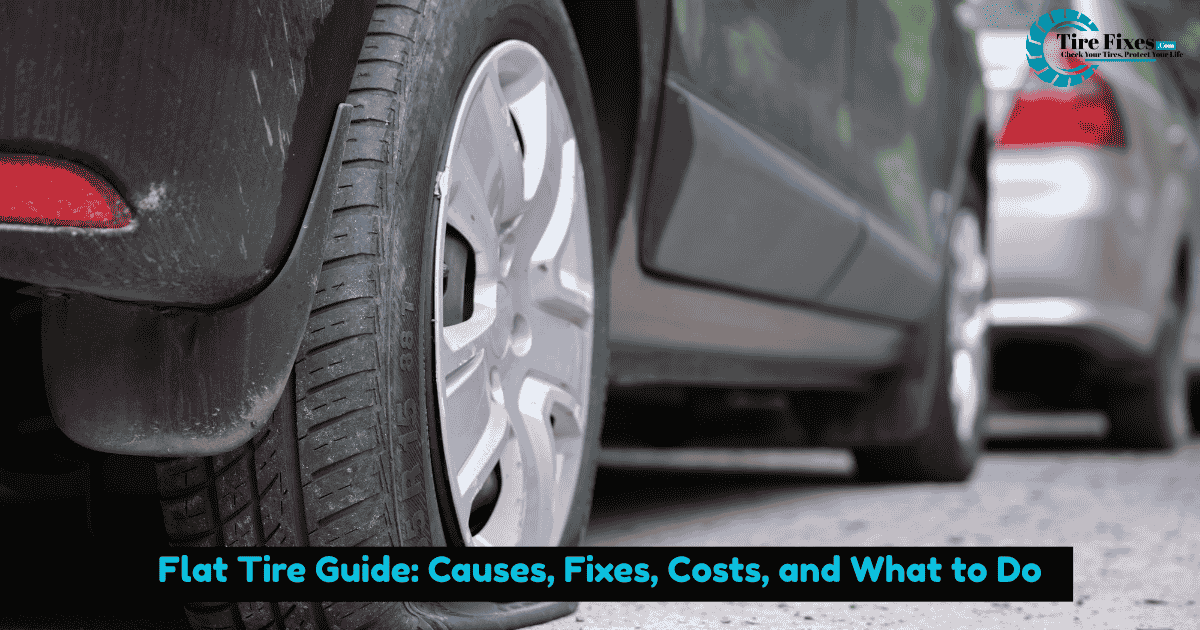
Pulling over with a flat tyre is one of those moments every driver dreads. Heart pounding, cars whizzing by, and you’re staring at a deflated sidewall, wondering, “Do I really know how to change this tyre?” Relax — whether you’re in a parking lot in Texas or parked on a side street in London, knowing how to change a tyre is a skill every driver should have. You don’t need to be a pro mechanic — just a bit of patience, the right tools, and step-by-step know-how. This guide breaks it all down from real-world experience so you can get back on the road safely.
Why Changing a Tyre Matters
A flat tyre doesn’t just ruin your day — it can damage your wheel, suspension, and even your steering if driven on. Driving even a short distance on a flat tyre can wreck the wheel and put you at serious risk on highways or rural roads. Knowing how to change a tyre means you’re prepared for the unexpected, and you stay safe and in control when it counts.
Common Causes of Flat Tyres
Understanding why tyres go flat can help you avoid trouble in the first place. Here are frequent causes seen on U.S. and UK roads:
- Punctures from road debris: Nails, screws, and shards of metal can pierce tyres easily.
- Impact damage: Hitting potholes, curbs, or debris can break the tyre sidewall or bead.
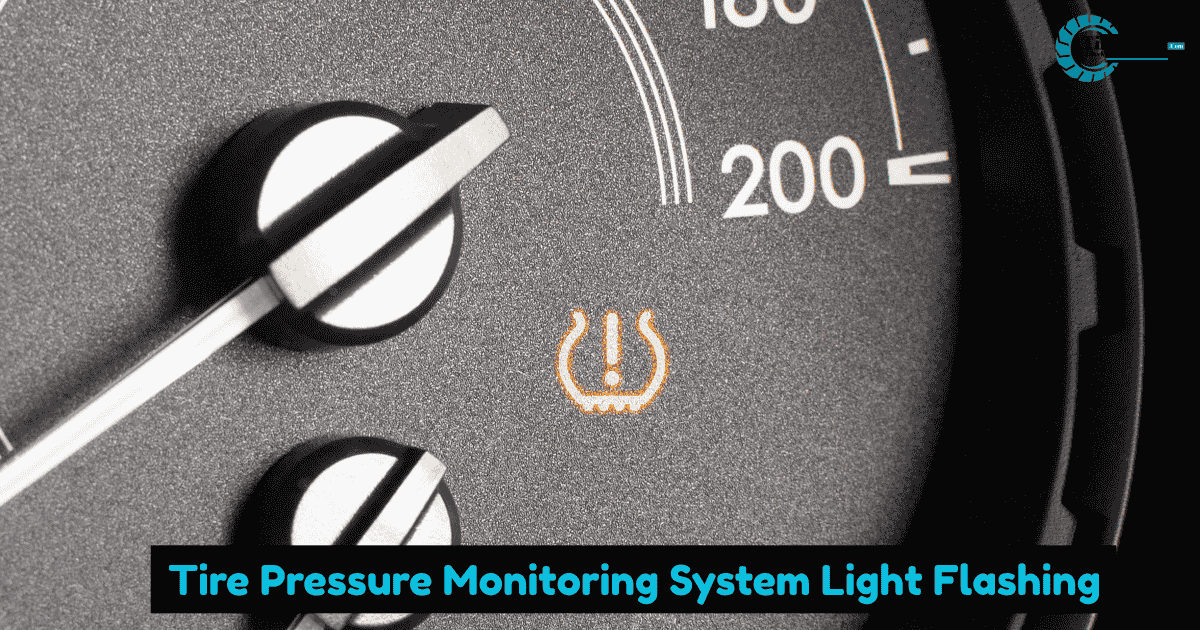
- Low tyre pressure: Under-inflated tyres heat up and wear prematurely.
- Valve stem issues: Worn valve stems leak air slowly over time.
- Natural wear: Over-time tread thinning can lead to failure.
Most of these can be spotted with regular checks — aim for a monthly tyre inspection with a pressure gauge.
Essential Tools You’ll Need
Before you start the tyre change process, make sure you’ve got the basics:
- Spare tyre (full size or donut)
- Jack (typically included with your car)
- Lug wrench
- Wheel chocks or heavy rocks
- Flashlight and gloves
- Owner’s manual for jacking points
Tip: Some new cars no longer carry a full spare — check what your vehicle actually has before you need it on the roadside.
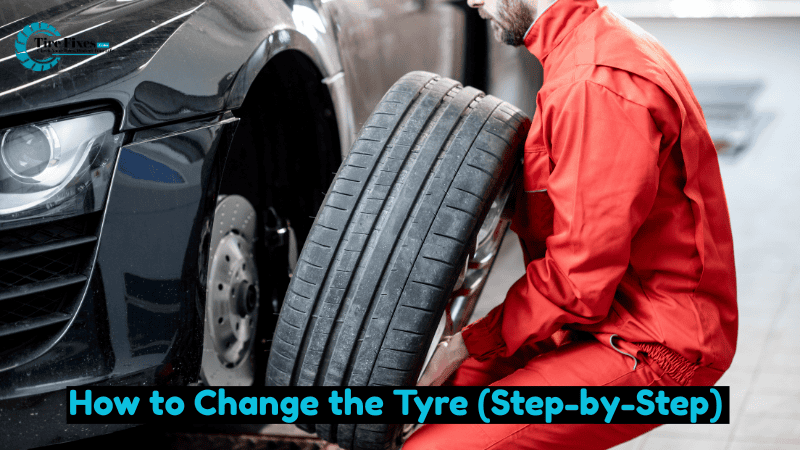
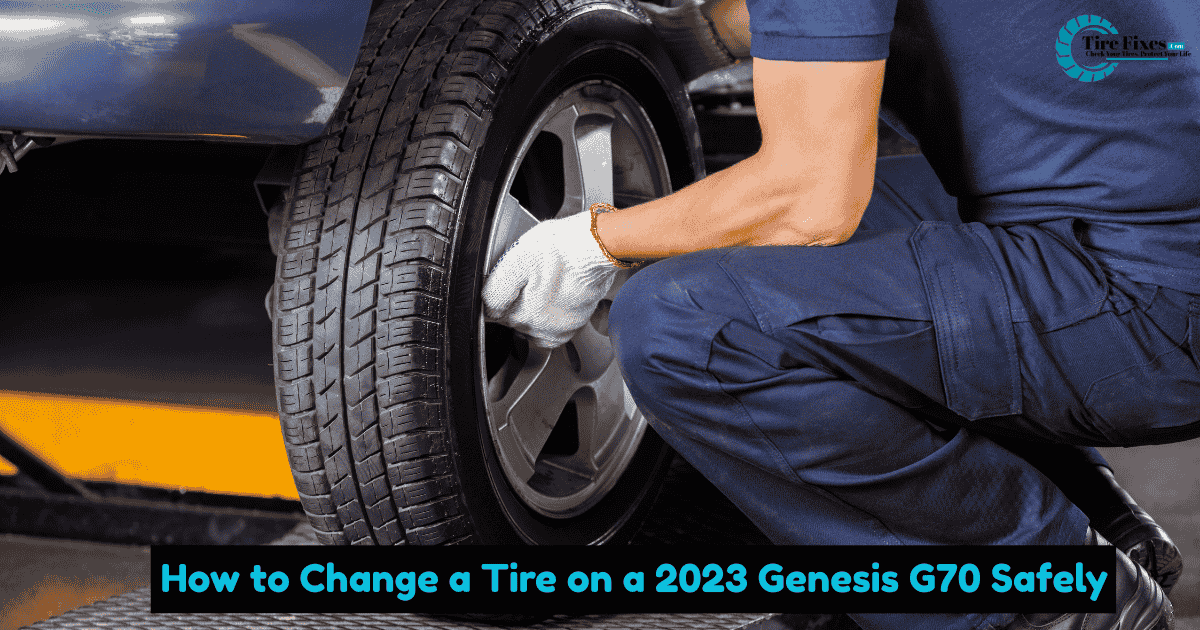
How to Change the Tyre (Step-by-Step)
1. Pull Over Safely
As soon as you hear thumping or feel the car pull to one side, don’t try to drive on it. Slow down gently, turn on hazard lights, and find a level, solid surface — like a parking lot or wide shoulder. Put the vehicle in Park (or 1st gear for manual) and set the parking brake.
2. Set Up and Stabilize
Place wheel chocks or heavy objects behind the tyres not being changed. This prevents the car from rolling when you raise it. Turn on hazard lights if you’re near traffic.
3. Loosen the Lug Nuts
Use your lug wrench to turn the lug nuts counter-clockwise just enough to break them loose. Do this while the wheel is still on the ground — it gives you more leverage.
4. Position and Raise With the Jack
Find the jacking point near the flat tyre (your manual shows you where). Fit the jack under the sturdy metal frame — never under plastic or unreinforced parts. Pump or turn the jack until the wheel just leaves the ground.
5. Remove the Flat Tyre
Once raised, fully remove the lug nuts and slide the flat tyre straight off. It might be heavy — two hands help here. Keep the nuts safe so you don’t lose them.
6. Mount the Spare
Align the spare tyre holes with the wheel studs and push it on. Screw the lug nuts back on by hand in a criss-cross pattern so it sits evenly.
7. Lower the Vehicle
Lower the jack slowly until the spare just touches ground — then fully tighten the lug nuts with your wrench. Drop the car the rest of the way and give the nuts one final torque.
8. Final Checks
Check tyre pressure with a gauge if you have one. Store the old tyre and tools securely in your trunk. Head to a mechanic soon — spare tyres are usually temporary.
Safety Tips Most Drivers Miss
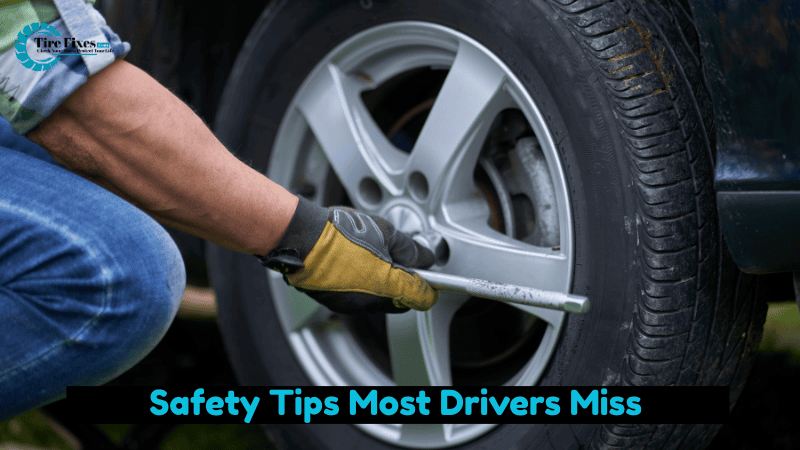
Even seasoned drivers forget these:
- Don’t change a tyre on busy highways — drive to a safer spot first.
- Never put your body under a vehicle on just a jack.
- Tighten lug nuts in a star pattern — this ensures the wheel seats evenly.
- If lug nuts don’t loosen easily, call roadside help — don’t damage the studs.
These simple steps can save you from costly mistakes and keep you safe.
Conclusion: You’ve Got This
Changing a tyre isn’t just for mechanics — it’s a life skill. With a little preparation, the right tools, and calm execution, you can do this safely and confidently next time you hear that dreaded thump. Don’t rush — focus on safety first, and treat every step like your ride depends on it (because it does).
FAQs About How to Change the Tyre
1. How long does it take to change a tyre?
For most drivers with experience, 15–30 minutes is typical. If you’re new, give yourself a full hour to work slowly and safely.
2. Do all cars come with a spare tyre?
No, many newer models drop the spare to save weight. Some include a repair kit instead. Check your owner’s manual.
3. Can I tighten lug nuts too much?
Yes — over-tightening can damage studs. Use a torque wrench if you have one or tighten firmly but not excessively.
4. Is it safe to change a tyre in the rain?
It’s possible, but slippery surfaces make it trickier. Wait for help if conditions feel unsafe.
5. When should I replace a spare tyre?
Spare tyres have limits — often only for short distances and slower speeds. Replace with a regular tyre at the earliest opportunity.
One Comment